In the ever-continuing search for a better-performing round, it is common to see ammunition being tested in ballistic gel. This brick of “Jell-o” like goo approximates the same consistency of mammalian flesh, though not the total composition, which includes skin and bone. Scientifically speaking, it provides a standardized medium in which to gauge penetration, expansion, temporary stretch cavities, and permanent wound cavities. Today, I’ll be covering how to make ballistic gel at home. Soon, I’ll follow up with calibrated gelatin to compare how close or far the homemade recipe gets us.
First, I want to cover the difference between homemade ballistic gelatin and calibrated ballistic gelatin. The standardized gelatin is tested (and adjusted) to meet a specific density requirement, so all batches should theoretically be close enough for standardized results. The stuff we make at home should be as close to the calibrated gelatin as we can make it.
Live Inventory Price Checker
|
|
Clear Ballistics 10 percent Ballistic Gel Starter Kit | Optics Planet | $ 379.99 $ 329.99 |
|
|
|
Clear Ballistics 20 percent Ballistic Gel Starter Kit | Optics Planet | $ 389.99 $ 339.99 |
|
|
|
Clear Ballistics 20percent NATO Ballistic Gel Block Clear | Optics Planet | $ 123.99 $ 119.99 |
|
|
|
Clear Ballistics Ballistics Gel 3-D Gummy Bear Target Clear | Optics Planet | $ 95.99 $ 94.79 |
|
The homemade ballistic gel gives us a fun visual test medium, aesthetically customizable targets (stock up on Halloween skulls), and the ability to modify the medium to satiate our curiosity. We can do this by adding a layer of deer hide, soft body armor or beef ribs to see how the bullet’s performance is affected. Any modification to the standardized tests renders the results incompatible with bullet tests using the standardized methods, but that doesn’t mean the information isn’t useful.
ClearBallistics.com details the FBI-standardized 10% gelatin they use:
“The FBI protocol we follow is firing a standard .177 caliber (4.5 mm) steel BB from an air gun over a chronograph at 590 feet per second (fps), plus or minus +/- 15 fps into the ballistic gelatin. The penetration of the steel BB must result in 8.5 centimeters (cm), plus or minus 1 cm, penetration (2.95 inches to 3.74 inches).”
The standard block is 6″x 6″16″.
Now that we’ve covered the difference between calibrated and “good enough for most of us” gelatin blocks, here’s how you do it.
Supplies.
- Gelatin
- Water
- Measuring cup
- Stockpot
- Non-stick cooking spray
- Target form, generally rectangular, works best—small trash can, planter box, Square 4-gallon bucket, etc.
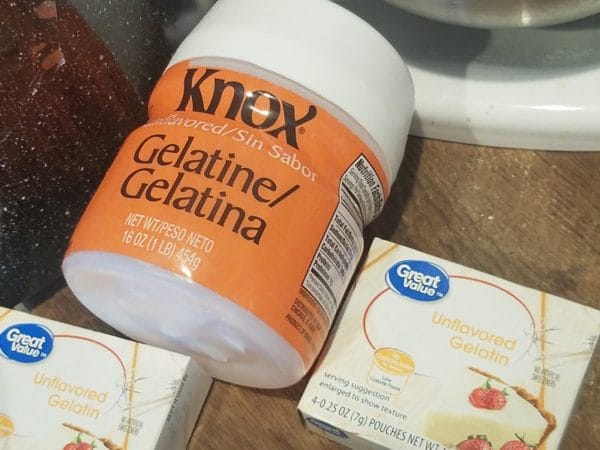
I have bought both Knox gelatin powder and Great Value gelatin powder. Online bulk and in-store at Walmart, I’ve been able to find gelatin powder down to ~$.70/ounce. We need 1 ounce of powder for every 8 ounces of water. That’s 4 oz powder per quart of water and 16 oz powder per 1 gallon of water.
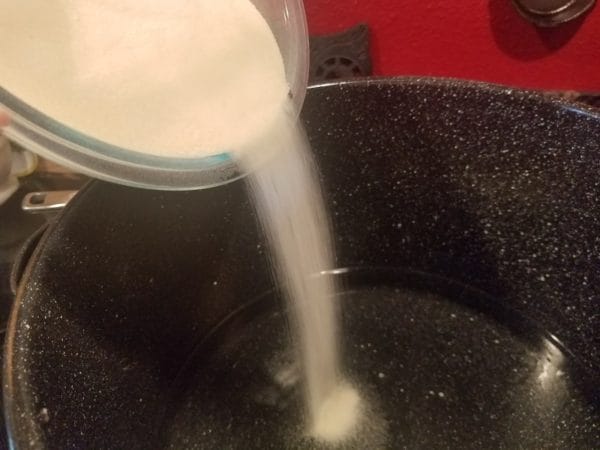
Step 1: Mix water and gelatin
Heat the water, there is no need for boiling. Hot, but cool enough to get your hands into. Slowly pour the powder into the water while whisking with a fork. Once all the powder is in, use your hands to try and break up any chunks. The light foam on top is no concern. Most bubbles will pop on their own, while the rest will be taken care of later.
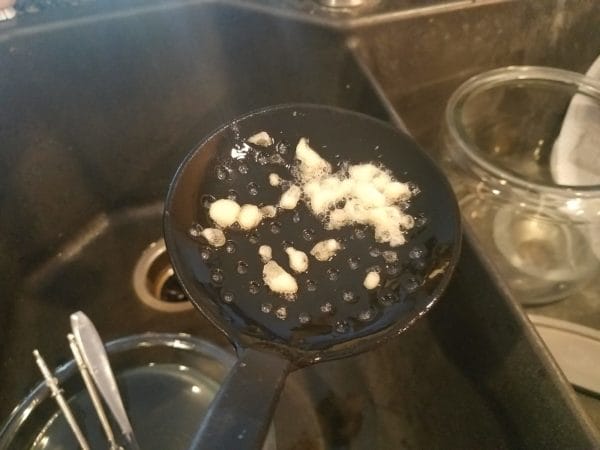
Tip: A spoon with fine holes is great for scooping the final few chunks of undissolved powder, and either discarding them or squishing them between the holes to break them down easily.
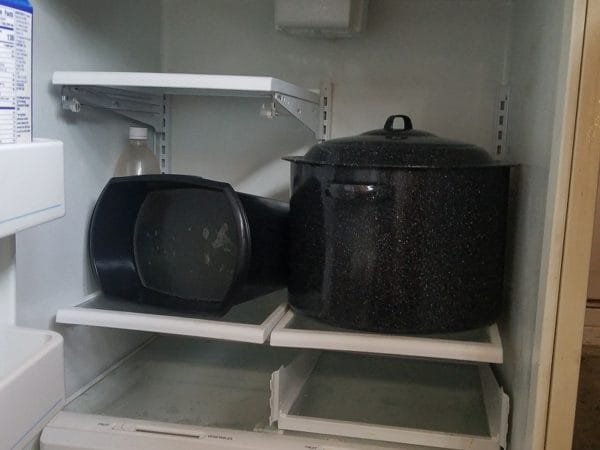
Step 2: Cool the mixture
The whole mix will be solid after a few hours in the fridge.
Step 3: Re-melt
The pot you used to mix the gelatin should now be placed in a hot water bath. I use my kitchen sink for my stock pot, plug it, and fill the sink with hot tap water. In time, the gelatin will re-melt, and all air bubbles will be released.
Tip: Use a fork to cut up the gelatin into smaller chunks and they will liquefy faster.
Step 4: Prep the objective
Whatever your target form is, spray the inside with vegetable oil, silicone spray or whatever non-stick coating you like. I used Pam cooking spray. This reduces the chance your gelatin brick will tear when you remove it from the mold.
Step 5: Pour and chill
Pour your liquid mixture into your target mold. Put the target mold into the fridge. I used a small garbage can, which netted a 12″ deep target. Spoiler alert: not deep enough!
Step 6: Transport and shoot
You can take the ballistic gel brick to the range while still in the mold or pop it out at home and give it a cling-wrap jacket. Either way, transporting it in a pre-chilled, iceless cooler is best. Out in the sun, gelatin will (eventually) start to liquefy, so keep it chilled as long as possible. Contact with ice or similarly cold substances will affect gelatin density. While I set up my range equipment, I left a reusable shopping bag on the gelatin brick to keep the sun off it. Worked great.
The three rounds shot into the gel in the video were:
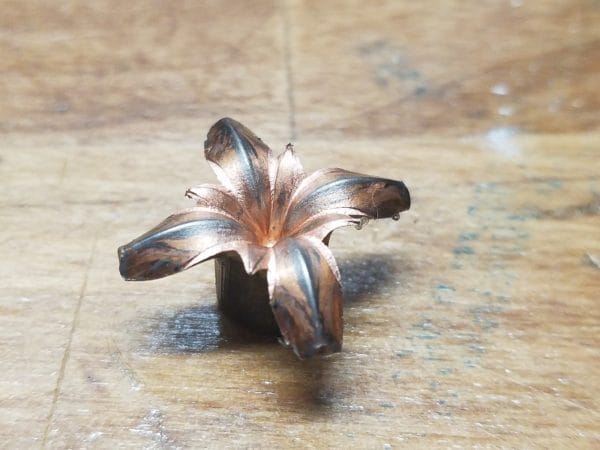
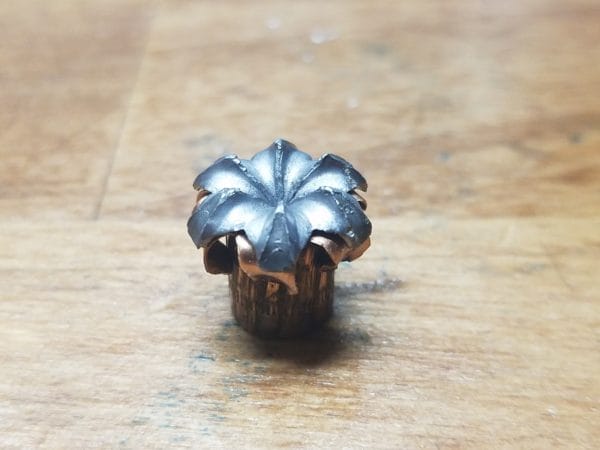
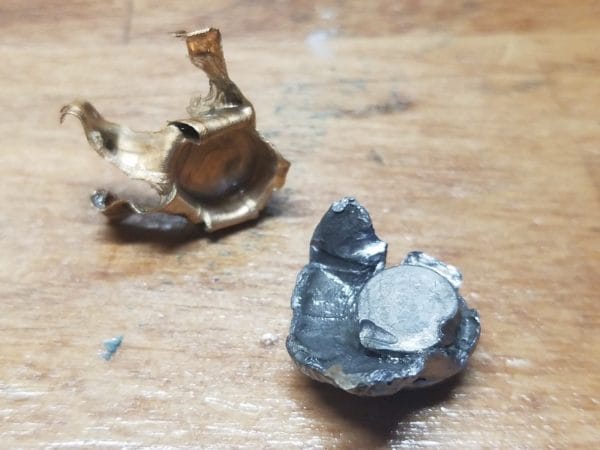
When I get calibrated gelatin in, I’ll test and compare the results, as well as upgrading my slow-motion video from 60fps to 240fps.
Set up your brick, and shoot away! It is best paired with a chronograph to get impact velocity and a camera with slow motion. The ballistic gel can be reused; just start back at step 3 and remove any foreign debris.
Have you made ballistic gelatin at home? Sound off in the comments and share your experience with other shooters who may be considering it.
About Rex Nanorum
Rex Nanorum is an Alaskan Expatriate living in Oregon with his wife and kids. Growing up on commercial fishing vessels, he found his next adventure with the 2nd Bn, 75th Ranger Regt. After 5 tours to Afghanistan and Iraq, he adventured about the west coast becoming a commercial fisheries and salvage SCUBA diver, rated helicopter pilot instructor (CFII) and personal trainer, before becoming a gear reviewer and writer.” –Rex Nanorum, @Rexnanorum

A most useful article,Thanks
Glad you enjoyed it. FBI gel in the mail.
I’ll bet one could even use it to make the actual FBI gel. One would likely just have use(and certify) the same process they use to “calibrate” it. What ever that means. Probably have to make a large batch, and then shoot a small one, while keeping the rest in a certain environment, and then use the results from the test one to certify the now-known density of the sample as the same as that whole batch. An awful lot of work for a home target though. Esp. since if one resuses the same batch over and over again, then… Read more »
$0.45/oz at bulkfoods.com (I am not affiliated with them, just found the cheaper price). That’s for buying 5 lb. which may be more than some people want.
45¢/ounce is a much better price than mentioned in the article, but $36 bucks for a target that most people will destroy in a single range session is still a bit pricey for those of us who aren’t using Other People’s Money
The whole point in buying $36 worth of gelatin is that you get two substantially-sized blocks that you can accurately test your ammunition in. Loads offered commercially vary widely between brands, yielding a huge spectrum of results. This allows you to decide which ammo is right for your needs.
I would say that’s worth $36 to find out ahead of time; you don’t want to get surprised by underperformance of your ammo in the middle of a gunfight with some street urchin!!
And THAT is the reason why you do a mag dump in their head, instead of firing just once and waiting around to see if it was enough to get the job done!! If there is more than one piece of garbage to deal with, put two or three rounds into each head as quickly as you can! Who says that you have to play nicey nice with them?? Are they promising to do that with YOU??
As mentioned however, these gel blocks are reusable. They aren’t destoyed in a single range session, you can take them home and re-melt then re-pour them. Reusable for many range sessions.
Xaun… great point but consider this medium can feasibly be used over and over if you melt (low temp), strain/filter and re-cast.
If you want to see what groups you shoot, use paper… if you want to see what damage your rounds actually do, use ballistics gel.
If one is careful and brings a cooler or something to tranport the perforated targets home in, they can be remelted and recast, and used over and over again. If one wants an even better analog for a living thing, put a piece of plywood (or some other thin, hard substance) in the mold on one side, and then shoot that side to simulate a ribcage that must first be perforated to reach the vital organs(the gel). The bullet having to pass through a hard surface before impacting the organs is more realistic. OFC, there is no way to precisely… Read more »
Paul Harrel’s “meat target” is the best simulation I’ve seen. However who wants to buy pork ribs, steak, oranges, and leather jackets for every round of testing? Great for YouTube star making money off the demonstration but beyond my willingness to spend.
Me also. His meat target is about the best, but also quite expensive. Fine for someone making money on the test, but a bit much for the rest of us peasants. I like the gelatin with a ceramic roofing tile for a rib cage. Plywood is a little easier to get, and a bit cheaper, but the wood shavings are harder to filter out of the gel when recasting. I think the ceramic tiles are worth the extra money and trouble. I also think the ceramic might be a bit closer to rib bones, but I have no data to… Read more »
The great thing, as stated in the article, is the gelatin can be melted and reformed countless times. Every time you reuse, the cost per goes down.
I have tested different types and brands of bullets on deer and elk for 50 years and it’s a one time only test each time . Most have been very successful in filling my freezer . Bullet recovery varies due to size of game and shot selection . I have a box full of recovered bullets and they all did the job well .
Another old article but I never read it before and didn’t know we could make our own. Thank you for the information.
I think if you make one big block, shoot everything you want to test in it, the consistency is not an issue because you did your best to eliminate the variable.
Rex, you are the dude I always wanted to be. Thanks for choosing Oregone.
Appreciated! I drop by every now and then, it’s nice to see some of my old stuff being flipped back onto the main page.
I’ve been using 20-24+/- oz gelatin to one gal water… hmmm… maybe I’ve been testing my loads for bodybuilders, LOL!
I’ll try 16gelo/gal-water & try the reheat for bubbles (why i went with 20+/oz per gal),,, sounds netter.
Rex,
I would guess that the second melting and subsequent cooling are meant to achieve a more dense block. Please elaborate on the reason for the second melting.
Lee, When you make it initially, the stirring makes air bubbles. The melt and re-solidify gets rid of the bubbles and ensures consistent density.
Thanks. One more question if you will indulge me. How does the density of this compare to ballistic gel?
Get a .177 BB gun that shoots close to 590fps and find out.
Pretty close but not exact. FBI standard gelatin is “calibrated”, FWIW.
Thanks. Pretty close is good enough for my purposes.
Valuable article. Good job.
He said in the article that this is to get the air bubbles out from the first cooling of the gelatin. Air bubbles, however small, will skew your results! The object is to get a CONSISTENT medium in which to test ammo.
I’ve found that a good sized gooey wet mud hole at the bottom of a hill and a clear backdrop can give a good approximation of stopping power.
How about just buy an uncooked Boston butt roast bone in x 2 put end to end and shoot. Bone in cost abt $2.00 pound
Then after shooting cook them. No mixing, freezing and makes good BBQ
I always used large phone books soaked in water, makes a cheap testing material